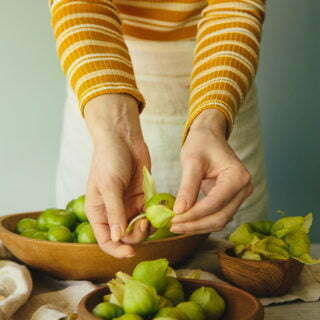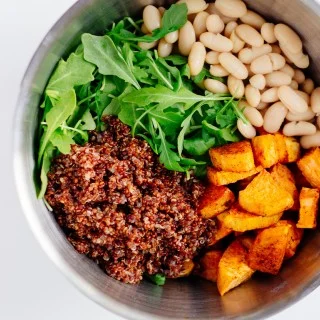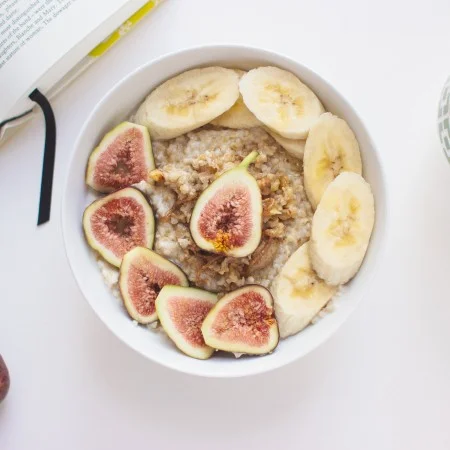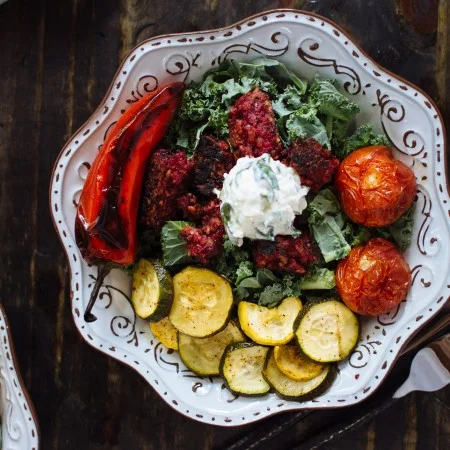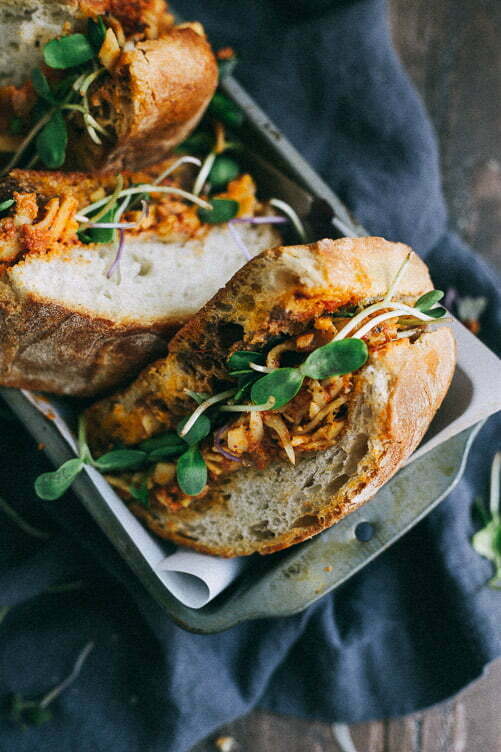
One of my favorite shots, using an old bread pan (found at my mom’s) and a sheet of parchment paper!
For those of you who have been following me for awhile, you have probably wondered what cliff I jumped off of these past few weeks and so I figured it was time to check in with you guys and let you know what’s been going on behind the scenes here at TBC!
As you probably know, we moved across the country from Washington DC to Utah a little over a month ago. But, what you probably don’t know is that we have also only spent about 1 week total in Utah since our move.
In fact, I just came back three days ago from a 3 week trip to Spain! And because of all of this traveling/moving/house hunting craziness that has taken over our lives this month-in combination with my limited access to a kitchen of any kind- my recipe development pretty much came to a grinding halt.
But that’s life and I am hoping that there are a few of you still along for the ride because I have already started whipping up some recipes for you! So don’t give up on me just yet! 🙂
Alright, now that you guys know why I’ve been MIA I figure we should get into the meat of this post, ie how to hunt for food photography props. (Prepare yourselves, because this is one long post)
When I first started this blog (almost a year ago, how nuts is that?!) I knew next to nothing about props or styling. I figured I could just use the set of plates, bowls and silverware I had hanging around and didn’t think too much about it until I began to compare my photos with the images I was seeing all over Pinterest. You know the ones I mean, the ones with the perfectly disheveled look like someone with a camera just happened to capture the most romantic dinner, ever. And I realized that maybe the reason I wasn’t able to recreate that same mood was because of my props (or lack thereof).
Food Photography Tutorial Part II: How To Prop Hunt
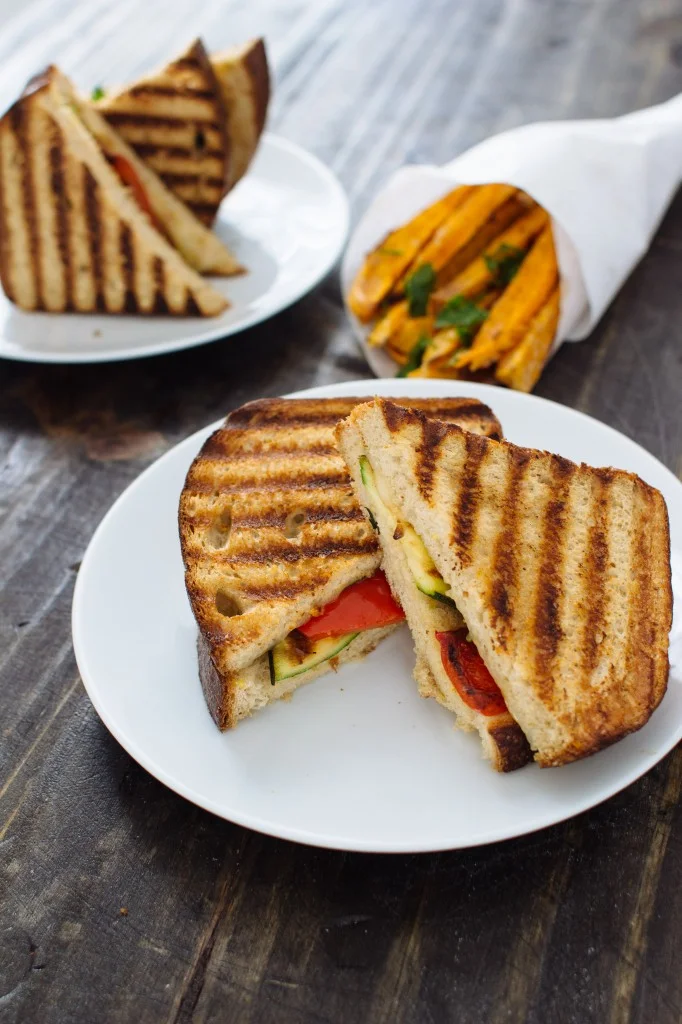
Take a look at the photo above, notice how the table looks a little sparse and how the grilled sandwich doesn’t really look great on the simple white plates? Well, that’s because I took this when I had literally no idea what I was doing. At the time, I was proud of it but, honestly, it is even painful to share it with you! But this is how we learn, right? So for the first section of this post, I’m going to talk about how to decide on the “feel” of a dish so you can learn from my mistakes and start styling Pinterest-worthy shots!
How To Decide Which Style Works For Each Dish:
Now the key here is realizing that simply switching out the props won’t solve the whole issue. Changing out boring white plates for something else will maybe bring more interest, but they can also detract if you still haven’t captured the “feel” of the dish. What I mean by that is, the environment you would maybe imagine eating the dish in or maybe how you would present it if serving it at a gathering with friends.
Food Photography Tutorial Part II: How To Prop Hunt
Did I just confuse you? Let me try to show you an example:
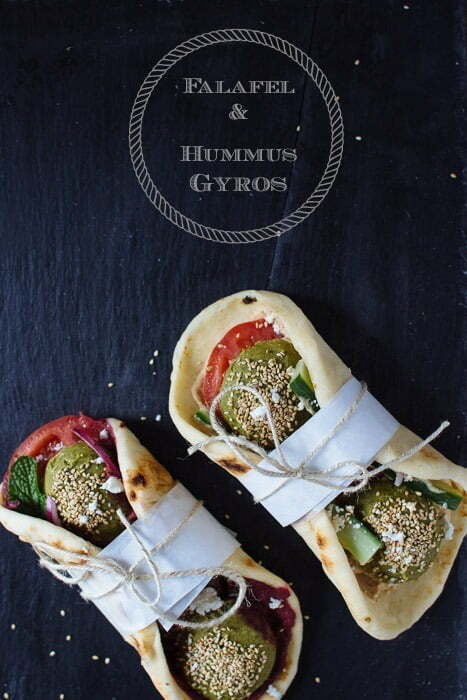
Now, this isn’t my favorite photo ever, but notice how the gyros are simply wrapped with parchment and a string similar to how you would receive them at a food truck/stand. I also placed them on a piece of black slate to mimic the chalkboard menus that are often outside small bars or restaurants and, for me at least, this makes me instantly think of casual, portable dining. Whereas if I had plated them and been a bit fancier in my styling, maybe they would come across as less accessible/casual.
Food Photography Tutorial Part II: How To Prop Hunt
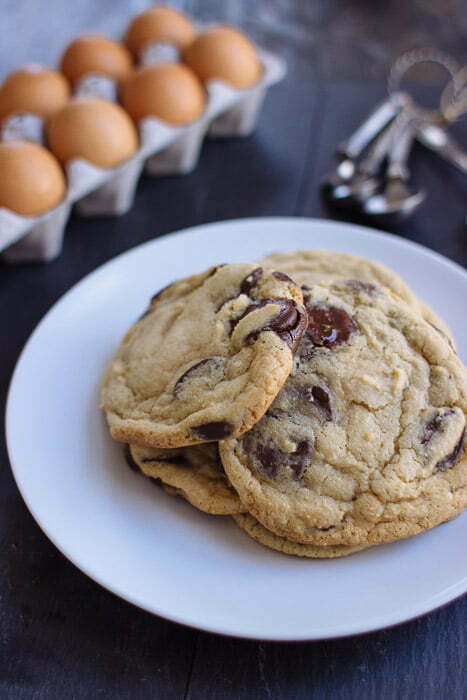
Ok, here is another great example. Chocolate chip cookies are the quintessential comfort food for most Americans and they often bring back memories of baking with mom or grandma. I really wanted to play up that nostalgia and I did so by including the carton of eggs and measuring spoons in the background. The only thing that could have made this image better is maybe messing it up a bit (sprinkling some flour around, or adding a linen cloth) and a tall glass of milk!
Food Photography Tutorial Part II: How To Prop Hunt
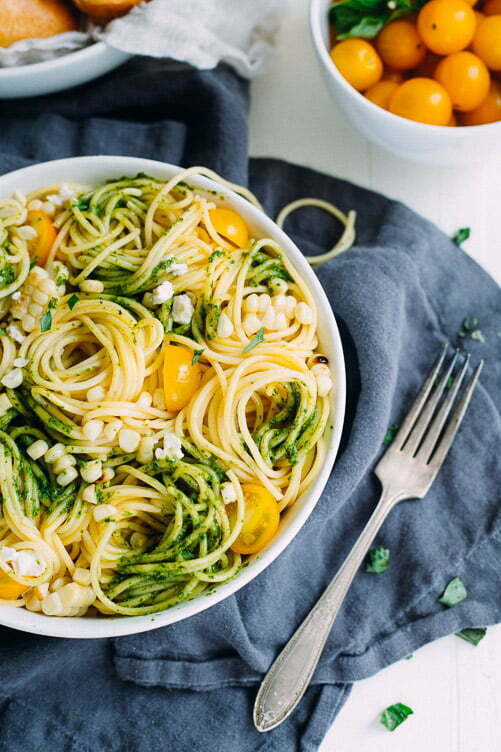
Now while those are decent examples to help get my point across, this photo above is one of my absolute favorites (which is saying a lot because I normally hate my photos). What I love most about this image is how organic it feels. Remember how I said I envied the Pinterest photos that made it seem as if a photographer had just happened across a perfectly styled table? That’s how this photo feels to me. What makes it “perfectly imperfect” are a few key factors. First, the noodles spilling out of the bowl, second, the slightly crumpled linen, and third, the sprinkle of fresh herbs around the place setting. Which brings me to the next section of this post;
How To Buy Props That You’ll Use Over And Over
Notice that I didn’t just say, “How To Buy Cute Props”. That’s because some of my favorite props (i.e the most cute) I have never really been able to style correctly or they worked with one shoot but I have never used them again. After having this happen a few times (and having to silently curse myself for wasting money and space) I realized that there are a few key factors that make a prop reusable without having them feel stale after many uses because, let’s be honest, the last thing most of us need is a huge prop collection that will never be used.
So are you ready for what you need? Here it goes: (I’m a list person, so I’m just going to list this for you guys)
1. A set of neutral, quality linen napkins (I have dark gray-shown above-as well as a light tan). These add a wonderful texture to the photo and instantly create drama and depth.
2. A set of flour-sack towels (just the plain white ones, I usually find mine at World Market). Again, I almost always use some kind of cloth in my shots. These are cheap, easy to access and the white can help highlight a moody shot.
3. A simple backdrop either in dark or light wood. I bought mine from an Etsy shop called Erickson Wood Works, but you can make your own if you are a DIY person (I made my first and the only reason I ended up switching was for versatility, the Etsy boards are double-sided, and because my homemade board was much heavier!)
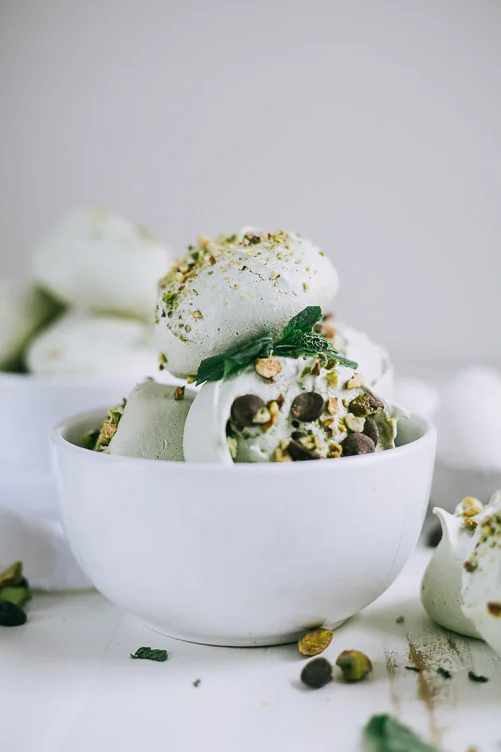
I found these cute bowls at Good Will for a dollar each!
4. A uniquely shaped set of plain white bowls: what I mean by this is that buying a set of normal cereal bowls from target doesn’t always make your food visually appealing/ interesting. The key is to choose something that is a slight departure from the normal, maybe the bowls are very shallow and large (perfect for showcasing pasta or salad-see the image of pasta above), or maybe the bowls are smaller in diameter but taller, perfect for stacking food. Either way choose something that will enhance the dish.
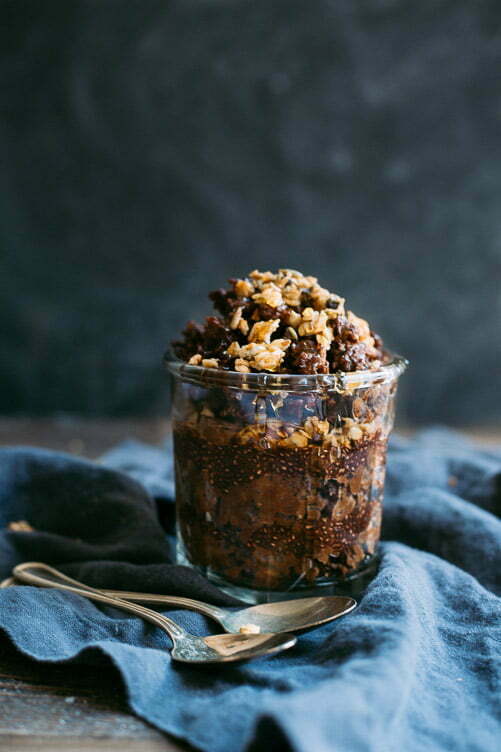
This glass jar was found at Crate and Barrel and has been perfect for little displays such as this!
5. A set of antique/old/mismatched silverware: Remember how I said that at the beginning I thought my boring forks and spoons would work just fine? Well, I was completely wrong. Something that I find can help pull a whole “look” together is interesting silverware.
For example, look at the spoons on the napkin in the photo above. Notice how they have a slight golden patina? I found them at an antique shop about a year ago and have used them whenever I need a small dessert spoon in a photograph. I’ve had people ask on social media where I found them and honestly it was simply dumb luck! I’ll talk a bit below about where I shop for my props but sometimes you are just in the right place at the right time.
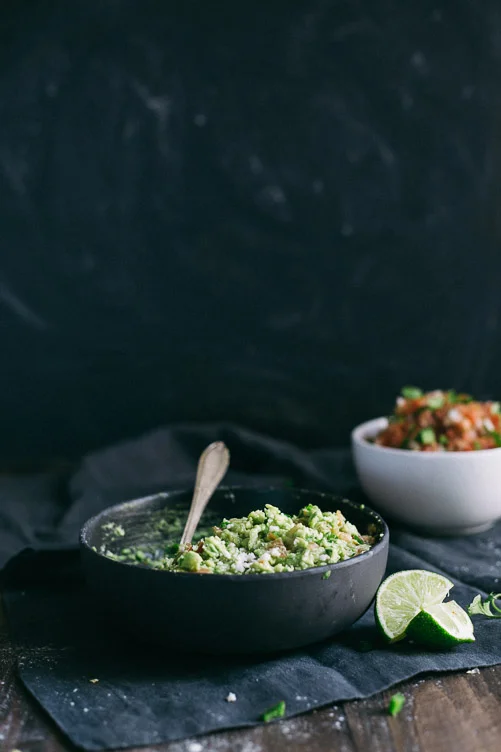
Food Photography Tutorial Part II: How To Prop Hunt
6. A black piece of foam (not paper, because they tend to last longer and are easier to work with) posterboard: If you look closely in the photo above you can see what almost looks like a marbled black surface used as the backdrop for the photo. It may surprise you to learn that that is simply a sheet of black foam board that I sprinkled with flour and then, using my hands, swirled to make the pattern you see above.
Out of all of the tricks I have learned with food photography, faking an impressive backdrop is probably one of my very favorites. It actually happened on accident one day and I continued shooting after trying to dust off the flour, but when I edited the images I noticed that the foam board had been transformed into what looked like a very expensive material.
And that brings us to our very last section of today’s post, where to find these elusive props!
Where I Buy My Props
When I first started I really limited myself to Target and World Market (mostly because they were the stores closest to me that I knew carried dishware) and while they would occasionally provide a special piece, more often than not I felt I was paying a premium for something I could buy anywhere.
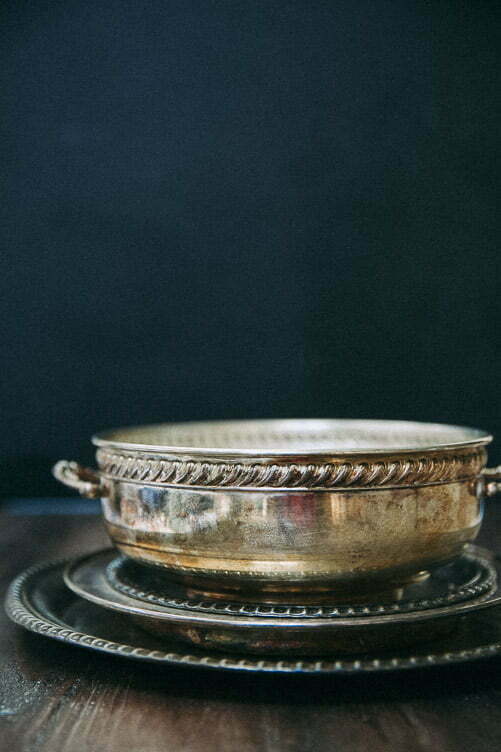
Some of my best antique finds!
So after getting frustrated one day, I decided to walk into an antique store and try my luck. I walked out that same day with 5 sterling silver plates, a bag full of silverware and it cost me about 50 bucks (after I bartered down the price). And after that I was hooked.
I would go back each week hoping for more unique pieces and more often than not I would come home with a new piece to add to my collection (much to my husband’s joy, haha). But that’s when I learned that finding props with a little bit of wear and tear are much more visibly appealing than brand new. So below is a list of places I frequented in DC, some are main chains but they have all been places I have found some of my most favorites pieces!
1. Vienna Bargains ( or any antique store near you): Where I bought most of my silverware shown on the blog
2. Crate And Barrel: I tried to source vintage linens, but they were incredible difficult to find so I hit up Crate and Barrel and haven’t looked back! I love the size of their linen napkins and the fact that they look even better when not ironed. Seriously, if you don’t have a few in your collection, get on it ASAP! They make a HUGE difference. And in case you’re wondering why they need to be linen, it’s because of the way they effortlessly drape when placed under a dish. Seriously they are magic!
3. Target: I know I said that buying from large stores can lend your props to feeling boring but occasionally Target comes through for me. I have bought a few bowls from them and love them!
4. Flea Markets: I know this is a huge generalization, but honestly Flea Markets can be a treasure trove if you are consistent and check weekly or monthly. I have found gorgeous pots and pans for dirt cheap and they tend to be incredibly well made to boot! Look up some flea markets in your area and spend a weekend looking around, I promise you won’t be disappointed!
5. Good Will: I didn’t really discover this until a few months ago, but thrift stores usually have a small selection of kitchenware! Now, this is probably the biggest hit or miss out of the above suggestions, but finding bowls/plates for a dollar each is enough to make me want to check back frequently.
But the most important thing here is to be creative, think how you can use something to enhance the dish you’re shooting. Or if you can use an item for something other than it’s intended purpose to create an interesting shot. And just have fun! With each shoot I take about 20 minutes to style up my backdrop/props. I place a few items into frame then take a photo and see how it looks. Then add something more, move something else around until I have-what I think anyway- is the perfect shot.
Any questions? Let me know in the comments below! And have fun shooting!
