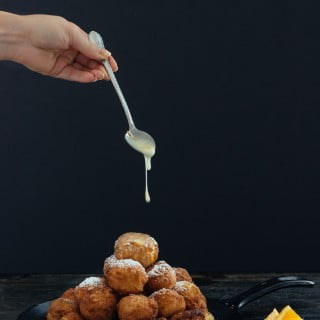
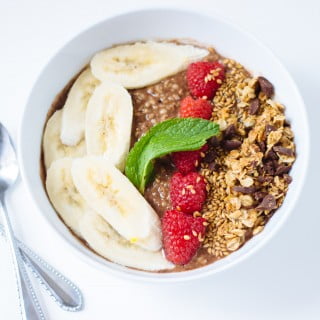
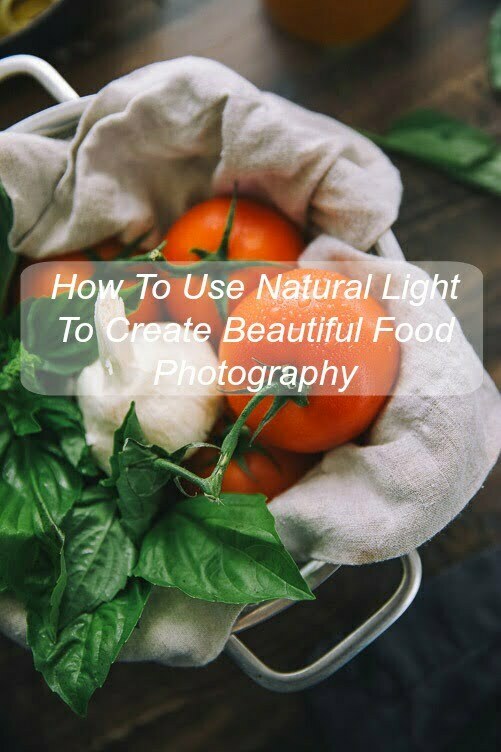
 I am so excited about this new series on TBC! As a photographer who is 100% self taught, I often looked at Pinterest articles labeled “How To Get The BEST Food Photos Possible” and then walked away frustrated when they didn’t teach me anything new. And so I want to fix that for anyone else interested in food photography by sharing all of my tips and tricks so that, hopefully, you can walk away with the skills to make amazing photos! Disclaimer, I am by no means an authority on food photography. I am simply sharing what has worked for me! And to do that, I have to start by talking about light.
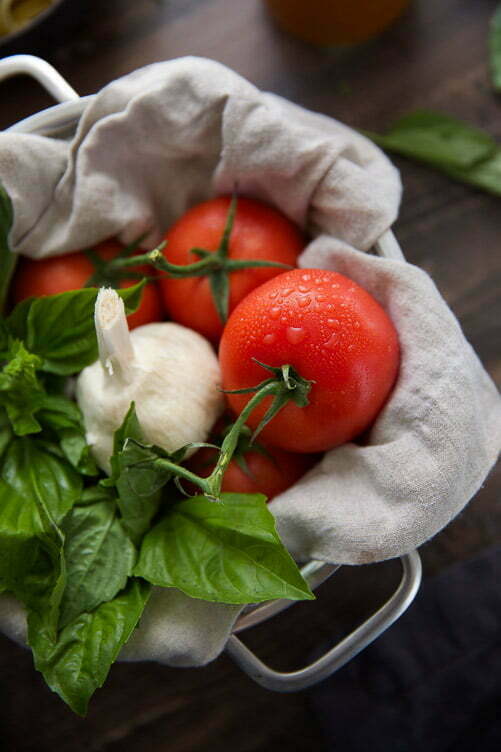
Straight from the camera, using my Canon 5D Markiii with my 24-70mm f2.8 lens at an F2.8 ISO 400 with a Shutter Speed of 1/320
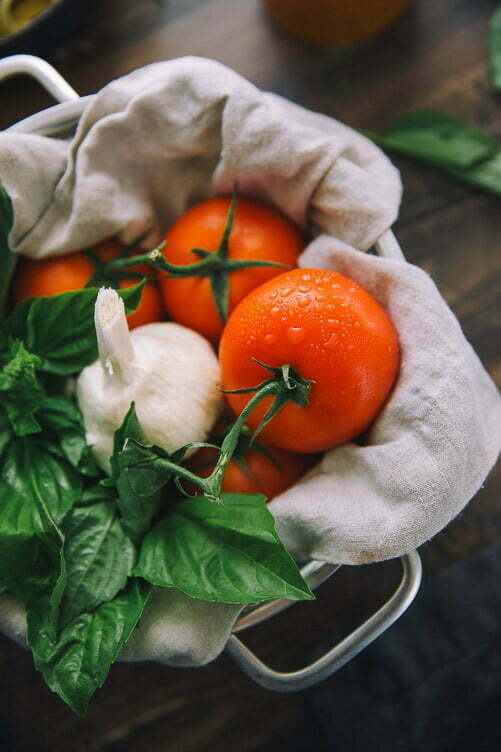
Edited using Lightroom and RNI filter.
With good light, you can get amazing shots straight out of the camera that require little to no editing but, the key is knowing how to use the natural light you have to your advantage. So let’s break this down into a few sections; 1. Camera Gear Needed, 2. Why Natural Light?, and 3. Using Natural Light for Different Effects.
1. Camera Gear Needed:
For those of you who already have a DSLR and know how to using it proficiently (I’m talking 100% manual mode here) skip on down to section 2. For everybody else, keep reading.
I’m going to tell you something that many blogs/photographers won’t, great food photography requires a DSLR camera with interchangeable lenses. And before anyone tells me that the camera does not make the photographer and that you can get great shots with a point and shoot, that may be the case but, those “great shots” will be few and far between. What I loved about learning how to shoot with a DSLR was the realization that you can control all of your camera settings (if you don’t know about ISO, Shutter Speed, and Aperture here is a wonderful source to help explain) and because you are working with a much larger files, your photo-editing (I will talk about this in Part 3 of this series) will be much more effective.
The second part of this, the part that took me a while to figure out when I bought my first Canon Rebel T3i (I now use the Canon 5D Mark iii), was what lenses I needed for food photography (I was seriously clueless, so shout out to my sister-in-law, Megan, who happens to be a professional and helped guide me in the right direction) . What I realized was that lenses really are a matter of personal preference and can vary from person to person so I will just speak from what I have used/ loved from the very beginning.
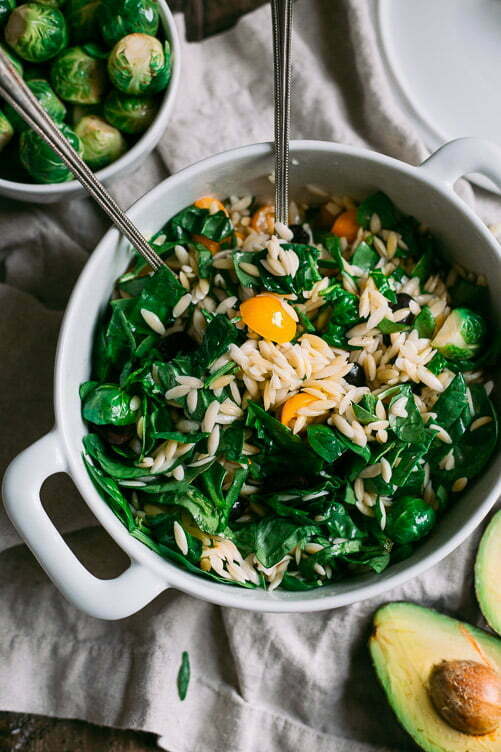
Taken with my Canon 5D Markiii and my 50mm F 1.8 lens at F 3.5 with an ISO of 400 and a Shutter Speed of 1/125.
If I could recommend any one lens to a budding food photographer (or portrait photographer, for that matter) it is the 50mm f 1.8, hands down. This little lens is such a power house and doesn’t cost a fortune (I think it comes in somewhere around 100 dollars, which is CHEAP for a lens) and given the right hands can produce beautiful images. If you are debating which lens to start with, I promise if you get this you will not regret it.
**For those of you who are more advanced, or at least willing to spend a small fortune, I recently picked up the Canon 24-70 mm f 2.8 and man, does it produce the most gorgeous bokeh (blurred background) EVER! Obviously you only need the 50mm-70mm focal points for close up food photography, but the glass quality is so wonderful if you are on the market for a zoom that really does it all, this is it!
2. Why Natural Light?
When I first started looking into food photography ( about 2 years ago), I realized that a reoccurring theme in every article I read, was the importance of natural light. At this point I knew it “was important” but I had no idea why I couldn’t create these amazing photos with my kitchen lights on. For those of you already shaking your heads, it’s amazing how long it took me to figure out that nothing looks good in artificial/yellow light, especially not food.
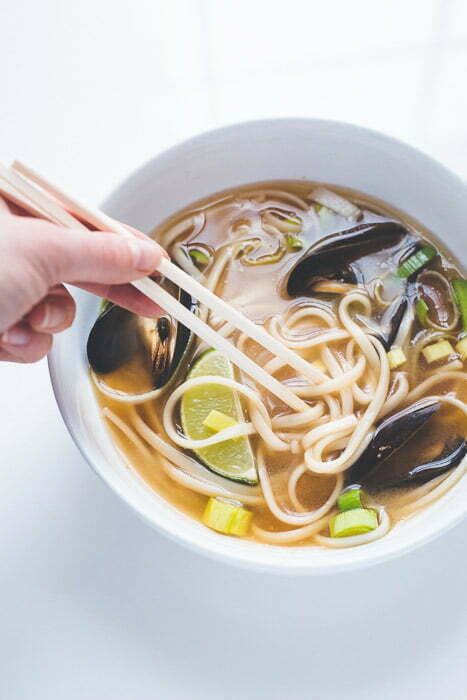
Taken with my rebel t3i, with my 50 mm f 1.8 at f 3.5 at ISO 400
To create this shot, I placed a white table in front of a window, and used back lighting (I will talk about this more later, but it is just what it sounds like; using a light source directly behind your subject) to create the appearance of “wetness” you see, and the natural light makes the ingredients look much more fresh/appetizing. So now that we are on the same page about why we need natural light, let’s talk about using it.
3. How To Use Natural Light for Different Effects
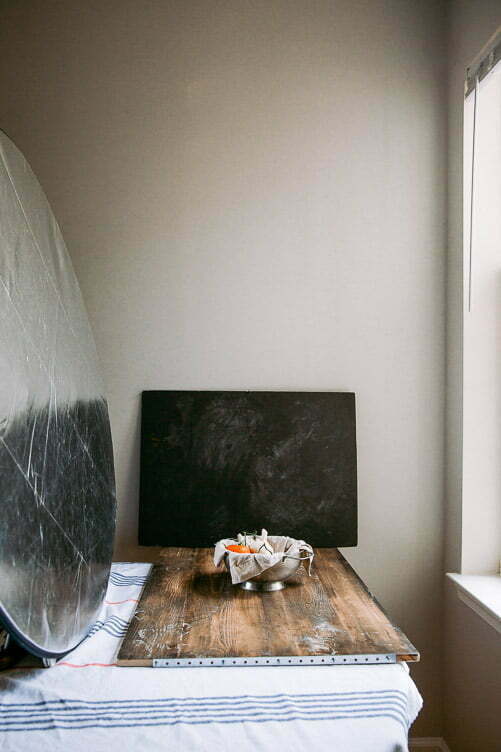
OK, this section is by far the most important, because once you have your camera and lens and have moved away from your overhead kitchen lighting, you need to know how to use the light you have to get the best images possible! To explain this, I’m going to show you my usual set up and then break it down into 3 sections for how to achieve different looks;1. Moody/Dark Images, 2. Light and Bright, and 3. Creating Texture.
1. Creating Dark And Moody Images:
As you can see, I have one large window to the right (that’s the only window/light source in that room) and I placed my backdrop (shout out to Erickson Wood Works for making this amazing double-sided backdrop! I use it for almost every shoot) on top of my kitchen table then placed a large reflector directly across from the window. This lighting set up is perfect if you want to create darker/moodier images because the single light source is easier to control. To do this, I like to use the light/reflector to illuminate the food, then use dark materials i.e my dark wood backdrop and dark linens to create contrast.
If you look towards the back of the set-up, I have a piece of black foam board propped against the wall. This also helps create that dark/moody feeling because it sucks in some of the ambient light, making it easier to keep the focus on the food.
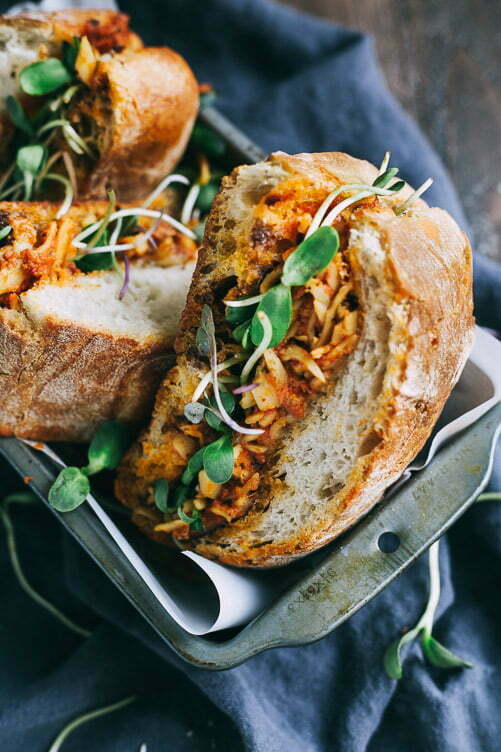
In the above image, you really can’t see a lot of the backdrop, but I used the same rustic/dark wood backdrop as shown above along with a dark gray linen cloth as well as the black foam board to help suck the light from the background and keep the food the center of the photo. I used my 50 mm f 1.8 here stopped to a 3.5, keeping the focal point towards the bottom front of the sandwich. In hindsight I probably would have changed that, but it still creates a cool effect and I love the way the linen looks almost fluid because of the bokeh.
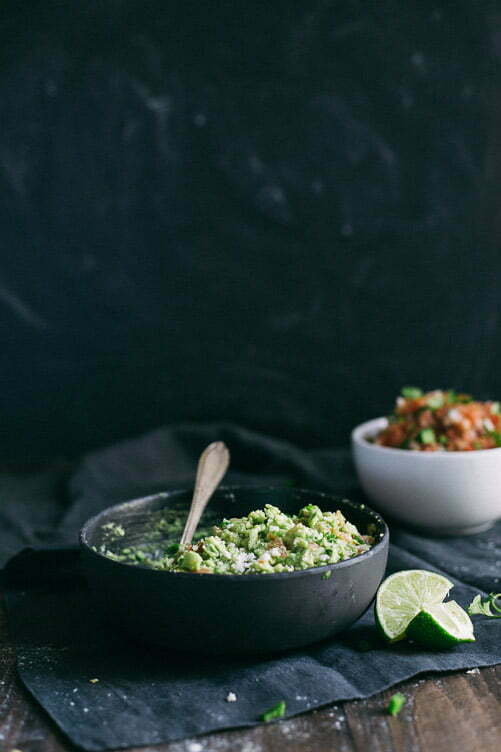
This photo is a completely different perspective as you get much more of the surroundings in the frame, so it was important that the guacamole and the salsa looked fresh/illuminated but that the backdrop wasn’t the focal point. To do that, I stopped my 50 mm f 1.8 down to 3.5 and placed the focal point on the front of the dark bowl to keep the front of the image in focus and create bokeh everywhere else.
*If you are having trouble getting a low-light look (i.e you’re in a room with too much light), try adding another black foam board where I placed the reflector as that will help cut your light source significantly.
**I have also found that shooting in the evening around 5:00-6:00 pm in the summer time creates some of the best light and is very easy to work with.
***I would avoid shooting from 12:00-2:00 at all costs. That light tends to be harshest and can create unflattering shadows on your food, which usually means unappetizing-looking images.
2. Light and Bright
While dark and moody images may be filling our Pinterest boards faster than we can say trendy, light and bright images are equally as “on-trend” and tend to be easier to create.
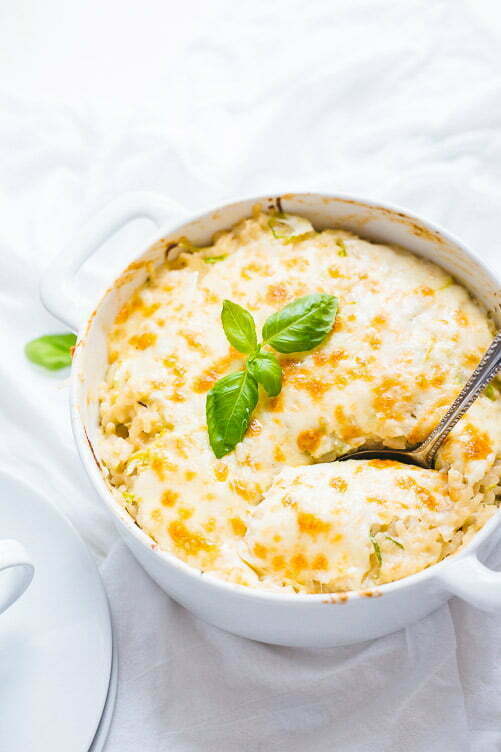
Shot with my 50 mm f 1.8 lens stopped to 3/5 at an ISO of 400.
My recommendation for starters would be to keep all of your props white. Doing so immediately creates that “light and bright” look and makes your food stand out. However, the key to this, is making sure you aren’t over exposing your shot. If you haven’t mastered metering yet, this is a great way to practice!
I like to take a test shot first with the image metered in the center, and then check my display to see if it seems too bright or too dark and then slowly adjust from there. I will talk about this a bit more when I discuss editing in part 3 of this series, but I recommend erring on the side of underexposing because once you have an overexposed image, the pixels are lost, but you can always lighten a slightly underexposed image.
For the image above, I placed my backdrop on a table in a room with two windows, one straight behind the dish and one directly to the right on the opposing wall. This helped eliminate any shadows and really up played up the fresh/clean look. Because I had two light sources, I didn’t really need a reflector, however, I shot this closer to the evening as the sun was setting so I used a white foam board to bring the light back onto the food.
3. Creating Texture
Alright, you guys still with me? I know this post is SOOO long, but I would rather be thorough than give you some run-of-the-mill advice. So here we go. Onto the last section, Creating Texture.
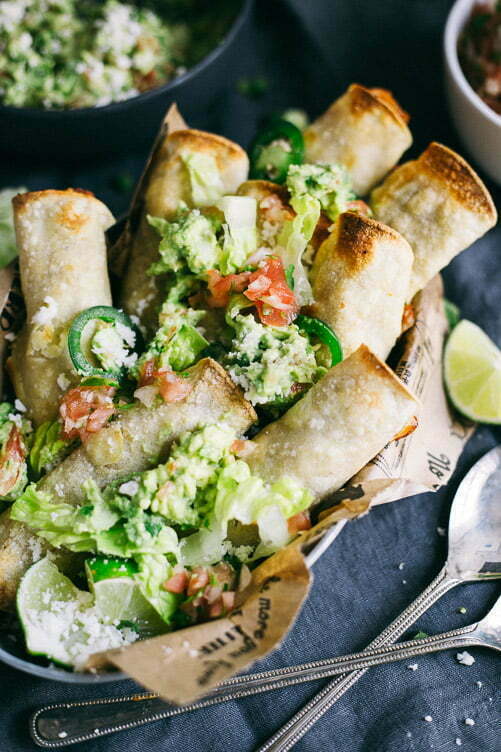
Shot with my Canon 5D Markii 50mm f 1.8 stopped to 3.0 at a 400 ISO
Creating texture for a food photographer is probably the second most important thing in terms of aesthetic appeal. It can take a shot from being eh to amazing in a matter of minutes and makes all the difference in the world for the customer/reader.
If you noticed, most of the shots in this post have been taken with a light source placed to the side of the food. That is done purposefully! It creates the wonderful texture you see above and is particularly flattering/easy to deal with which is perfect for those just starting out. For the shot above, I used my 50mm f 1.8 lens stopped to 3.0 with the focal point towards the upper third of the dish.
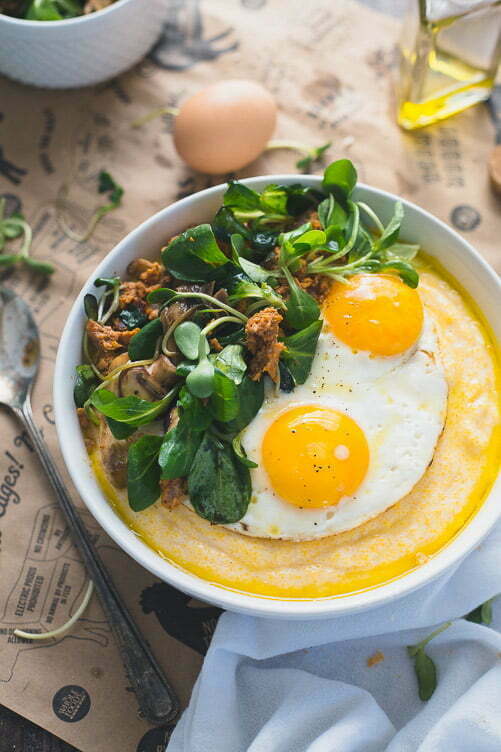
Now if you don’t need as much texture (maybe you are shooting something with more uniformity like the grits above or a sauce), but you have a dish that has a component that is wet or reflects light well (like the egg yolks in the above image) I like to place the light source directly behind the food. This creates that “wet-look” that is super appealing (especially for soups) because it makes you want to dive in!
For the shot above, I used my 50 mm f 1.8 again (I told you it was a workhorse) stopped to 3.5 with the focal point in the middle of the frame. I placed my backdrop on top of a table in the room with two windows, one directly behind and one to the right on the opposing wall and placed a white foam board on the left side of the frame to reflect the light onto the left side of the dish and help lighten some of the shadows.
OK, I think that is it for part 1! let me know if you have any questions about food photography that I can answer! I am planning on doing another post on artificial light as well as on props and how to edit so let me know if you have any specific concerns and I will try to answer them!
